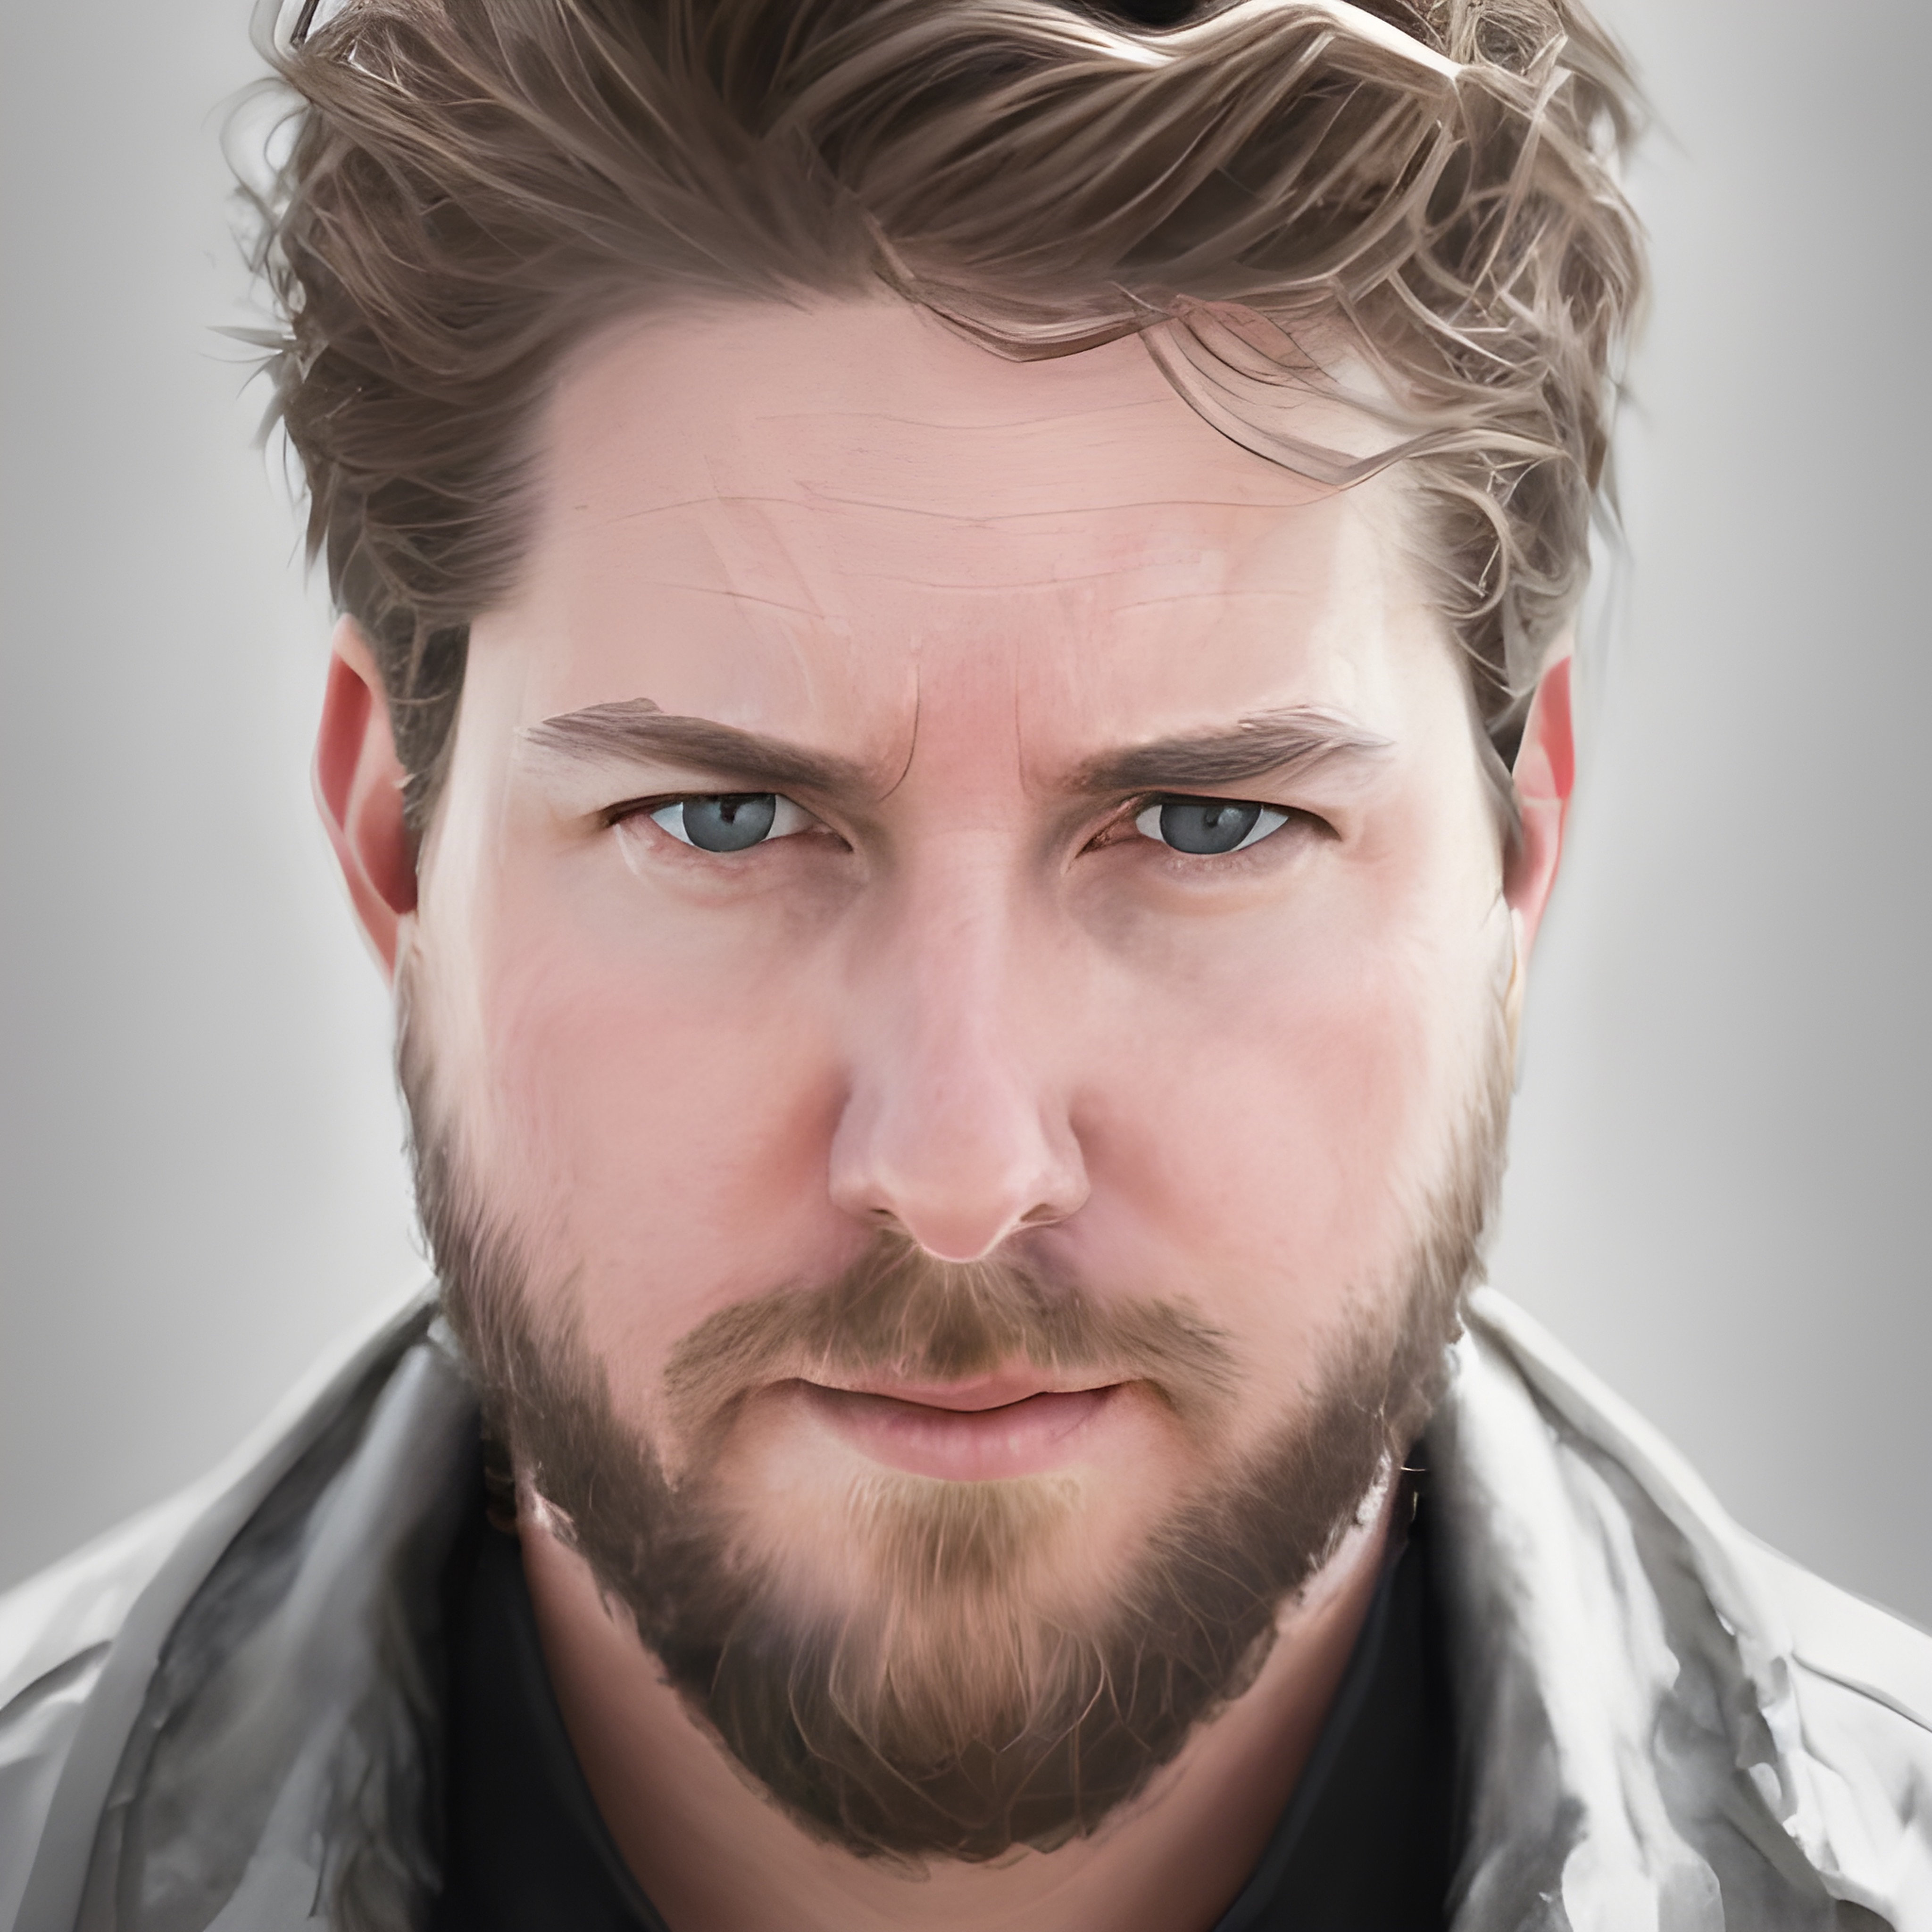
Prepare CakePHP for PHP 5.4 and PHPUnit on OSX

sudo port selfupdate           # Update Portstree
sudo port install php54
sudo port install php54-xdebug # XDebug for debugging PHP Applications
sudo port select php php54     # Activate PHP 5.4
sudo cp /opt/local/etc/php54/php.ini-development /opt/local/etc/php54/php.ini
 
pear upgrade PEAR
pear config-set auto_discover 1
sudo pear install pear.phpunit.de/PHPUnit     # Install PHPUnit PEAR Package

add to /private/etc/php.ini and /opt/local/etc/php54/php.ini (The first file is de default OSX location and the second for the ports PHP Version):

include_path = ".:/usr/lib/php/"

starting the development server:

lib/Cake/Console/cake server -p 8080          # Run on Port 8080

run

lib/Cake/Console/cake test                    # Run Tests

or going to http://localhost:8080/test.php to run the tests onnline

Tagged: , , , , ,

Transparent class Attribute mapping to DB in Python

I’ve spend some time to create a construct in python which allows me to transparently map an CouchDB (or any other document based database) document to a Class. For example a User class or later called Model should give access trough class attributes to the fields of the document. For that i had to manipulate getattr whit the help of a decorator. I had to deal with several issues till i got the perfect construct. StackOverflow helped me to find the way in this and this post.

This is a good example to understand how decorators in Python do work. The code here does simply demonstrate how the decorator works.

# should later connect to a read remote datasource
class Connector(object):
 data = {"emailAddress":"jackbauer@ctu.org", "lastName":"Bauer"}
 def readvar(self, var):
  return self.data[var]
 
# This is the Decorator
class DocumentDB(object):
 def __init__(self,connector):
  self.connector = connector
 def __call__(self, *args, **kargs):
  _c = self.connector # _c needs to be set to make the connector accessible for Transparent Attribute
  class TransparentAttribute(args[0]):
   def __getattr__(self, attrname):
    try:
     return _c.readvar(attrname)
    except:
     # If the field does not exist at the datasource, return the attribute from the object
     return getattr(args[0], attrname)
  return TransparentAttribute
 
c = Connector()
@DocumentDB(c)
class User(object):
 username = "JackBauer"
 def doSomething(self):
  print "I'am Jack bauer"
 def doSomethingElse(self):
  pass
 
u = User()
u.doSomething()
print u.emailAddress # Field from the Datasource
print u.lastName       # Field from the Datasource
print u.username

There was another way suggested on Stackoverflow to use Metaclasses. My personal opinion in this case is to use the decorator. Metaclasses does make sense if you work with databases in a classical sense where the fields are all known. Documents my be slightly different from each other. So their form would have to get interpreted on each attribute access or either the attributes are dynamically mapped.

Feelfree to comment this example!

Tagged: , , , , ,

Python and SQLAlchemy 0.8 example

There is this great ORM framework SQLAlchemy for Pyhton. With an ORM you are able to map Objects on Database Tables.

SQLAlchemy is really great, but if you want to use it in an more integrated way, to build for example an MVC based application, its a bit hard, especially if you get in touch with SQLAlchemy for the first time. To make it more easier for other people to build an base architecture i’ve created this example.

(This example is based on this tutorial.)

from sqlalchemy import create_engine, ForeignKey
 
from sqlalchemy import Column, Date, Integer, String
 
from sqlalchemy.ext.declarative import declarative_base
 
from sqlalchemy.orm import relationship, backref
 
from sqlalchemy.orm import sessionmaker
 
import datetime
 
Base = declarative_base()
 
class Singleton(object):
 
    '''
 
    Singelton class
 
    '''
 
    def __init__(self, decorated):
 
        self._decorated = decorated
 
    def instance(self, *args, **kwargs):
 
        try:
 
            return self._instance
 
        except AttributeError:
 
            self._instance = self._decorated(*args, **kwargs)
 
            return self._instance
 
    def __call__(self, *args, **kwargs):
 
        raise TypeError('Singletons must be accessed through the `Instance` method.')
 
@Singleton
 
class Db(object):
 
    '''
 
    The DB Class should only exits once, thats why it has the @Singleton decorator.
 
    To Create an instance you have to use the instance method:
 
        db = Db.instance()
 
    '''
 
    engine = None
 
    session = None
 
    def __init__(self):
 
        self.engine = create_engine('sqlite:////tmp/funnydatabase.db', echo=True)
 
        Session = sessionmaker(bind=self.engine)
 
        self.session = Session()
 
        ## Create all Tables
 
        Base.metadata.create_all(self.engine)
 
    def instance(self, *args, **kwargs): 
 
        '''
 
        Dummy method, cause several IDEs can not handel singeltons in Python
 
        '''
 
        pass
 
class Model():
 
    '''
 
    This is a baseclass with delivers all basic database operations
 
    '''
 
    def save(self):
 
        db = Db.instance()
 
        db.session.add(self)
 
        db.session.commit()
 
    def saveMultiple(self, objects = []):
 
        db = Db.instance()
 
        db.session.add_all(objects)
 
        db.session.commit()
 
    def update(self):
 
        db = Db.instance()
 
        db.session.commit()
 
    def delete(self):
 
        db = Db.instance()
 
        db.session.delete(self)
 
        db.session.commit()
 
    def queryObject(self):
 
        db = Db.instance()
 
        return db.session.query(self.__class__)
 
class Artist(Model,Base):
 
    """"""
 
    __tablename__ = "artists"
 
    id = Column(Integer, primary_key=True)
 
    name = Column(String)  
 
class Album(Model,Base):
 
    """"""
 
    __tablename__ = "albums"
 
    id = Column(Integer, primary_key=True)
 
    title = Column(String)
 
    release_date = Column(Date)
 
    publisher = Column(String)
 
    media_type = Column(String)
 
    artist_id = Column(Integer, ForeignKey("artists.id"))
 
    artist = relationship("Artist", backref=backref("albums", order_by=id))
 
###### HERE STARTS THE PROGRAM ######
 
## Initialize the whole Database.
 
db = Db.instance()
 
## Create an artist
 
new_artist = Artist("Kittie")
 
new_artist.albums = [Album("I've Failed You", 
 
                           datetime.date(1988,12,01),
 
                           "Blubb", "CD")]
 
## add more albums
 
more_albums = [Album("Album 2",
 
                     datetime.date(1990,07,31),
 
                     "Blobb", "CD"),
 
               Album("Album 3", 
 
                     datetime.date(1999,11,16),
 
                     "Blebb", "CD")]
 
new_artist.albums.extend(more_albums)
 
## Adding The new Artist to the DB
 
new_artist.save()
 
## Query for an artist
 
x = Artist()
 
qo = x.queryObject()
 
y = qo.filter(Artist.name=="Kittie").first()
 
## Delete the Artist
 
if y: y.delete()
 
## Add severall Artists
 
x.saveMultiple([
 
    Artist("Stone Sour"),
 
    Artist("Metallica"),
 
    Artist("Porcupine Tree")
 
    ])
Tagged: , , , ,

RSA Encryption in Java

Due to i’m currently writing some lines of encryption code in python i was interested how an encryption is done in Java to compare the widely discussed complexity of Java. At this point it may be important to point to the fact, that i’m not a frequent java coder.

The task is just to generate an private/public key-pair and finally to encrypt an string with the public and decrypt with the private key.

This is the java version:

import java.security.*;
 
import javax.crypto.BadPaddingException;
import javax.crypto.Cipher;
import javax.crypto.IllegalBlockSizeException;
import javax.crypto.NoSuchPaddingException;
 
public class RSAExample {
    public static void main(String[] args) throws NoSuchAlgorithmException, NoSuchPaddingException, InvalidKeyException, IllegalBlockSizeException,BadPaddingException {
        KeyPairGenerator keyGen = KeyPairGenerator.getInstance("RSA");
        keyGen.initialize(2048);
        KeyPair kp = keyGen.genKeyPair();
 
        PublicKey publicKey = kp.getPublic();
        PrivateKey privateKey = kp.getPrivate();
 
        String text = "Testmessage";
        Cipher cipher = Cipher.getInstance("RSA");
        cipher.init(Cipher.ENCRYPT_MODE, publicKey);
        byte[] x = cipher.doFinal(text.getBytes());
 
        cipher.init(Cipher.DECRYPT_MODE, privateKey);
        byte[] y = cipher.doFinal(x);
    }
}

And this is the Python version:

from M2Crypto import RSA
rsa = RSA.gen_key(bits=2048, e=7)
x = rsa.public_encrypt(data="This is a Message", padding=1)
y = rsa.private_decrypt(data=x, padding=1)

Finally for all the perl coders out there, the same in perl:

use Crypt::RSA;
$rsa = new Crypt::RSA;
($public, $private) = $rsa->keygen( Size => 2048 );
my $c = $rsa->encrypt( Message => "This is a Message", Key => $public );
$message = $rsa->decrypt( Ciphertext => $c, Key => $private );

Perl and Python are almost equal. Yes, Java has an higher complexity in achieving the same target but it may be more verbose to advanced java programmers. For me personally its important to determine the complexity of the whole project you are going to build and choosing an programming language which fits those needs. But i know, there are damn huge and complex applications out there written in python which are running very successful. Are you an Dropbox user for example? ;)

Tagged: , , ,

Encrypt and Decrypt asymmetric in python (RSA)

Accessing OpenSSL functionalities in Python is extremely easy. The following example shows how to encrypt an text with an public key and decrypt it with the private key in only 5 lines of code.

First you need the thirdparty Library M2Crypto installed on your system.

easy_install m2crypto

After that you should be able to use the library in any IDE to write the following short program:

from M2Crypto import RSA, X509
 
import base64
 
certificate = "xxx" # Your Certificate
 
privatekey = "xxx" # Your Privatekey.
 
data = "Python is awesome!"
 
# putting the certificate and the privatekey together
 
pem = "%s%s" % (certificate, privatekey)
 
# Create an X509 Object out of the Certificate
 
x509 = X509.load_cert_string(pem, X509.FORMAT_PEM)
 
# Extract the Public Key from the Certificate
 
publickey =  x509.get_pubkey().get_rsa().as_pem()
 
# Create an RSA Object which represents an Keyring with both publich/private-keys
 
rsa = RSA.load_key_string("%s%s" % (publickey, pem))
 
# encrypt
 
x = base64.b64encode(rsa.public_encrypt(data, 1))
 
# decrypt
 
y = rsa.private_decrypt(base64.b64decode(x), 1)
 
print "%s\n-----------\n%s" % (x,y)

Thats all. Even an non coder should be able to understand those steps.

Tagged: , , , ,

Permutation of a word to create unique brand names

Do you know that? You have a great idea for a new cool product and now you need an name for it and all cool names you can imagine are already taken or at least the .com/.net TLD names are taken.

Why do not use an permutation of your favorite name? As en example you would like to name your Product “Cool”. There are many combinations of the letters: colo oolc looc and so on…

With the following 3 lines of Python code are you able to get a list of all possible combinations:

 
import itertools


word = "cool"
 
for x in set(itertools.permutations(word, len(word))): print "".join(x)

Have fun :)

Tagged: , , , ,

Howto Code an Cloude Product efficiently

You have to build an product which consist out a couple of components and probably more than one system. Even your development environment needs more than one system to work properly. To write efficiently code under such hard circumstances is really hard.

And there are a some other facts which makes your coding-live much more unfunctional like a not working VPN or bad internet connection while traveling in the train.

I’ve found an way which works quite well for me.

I’m using my notebook with eclipse and Parallels Virtualisation. On my Notebook i have all the databases running (MySQL and CouchDB). I’m coding directly in eclipse and all changes are transfered automatically to all running virtual machines on my laptop. For that i’ve configured the rsync daemon on my osx:

/etc/rsyncd.conf

[SomeName]

        comment = public archive

        path = /Users/tspycher/Documents/Projects/xyz 

        read only = yes 

        list = yes

        uid = tspycher

        gid = staff 

        hosts allow = 10.211.0.0/16

the “hosts allow” settings makes sure, that only the local vm’s can access this rsync module. After creating the config file you just have to start the rsync daemon by invoking

rsync —daemon

. To make the whole system more secure you could bind the rsync daemon to the virtualisation network device.

On the remote systems i’ve created an service script which periodically transfers all changes to the local system. Here the script for ubuntu upstart:

/etc/init/devsync.conf

script

    while [ 1 ]; do rsync --exclude '.svn' --delete -avz tspycher@10.211.55.2::SomeName/service /opt/xyz && sleep 5; done   

end script

After starting the little dirty service with

servcie devsync start

the systems are in sync. And finally i just create sym links the needed files and folders from its synced location to the correct location.

This Setup allows me to code very efficiently on more than one system.

Tagged: , , ,

iOS 6 VIP Feature: donations are open now!

Apple has showed a preview of iOS 6 to us this monday. They presented a nice little feature called VIP. You can declare people in your address book as VIP. All messages from VIP’s are displayed in a special, highlighted way. Even when you put your phone into a “Do not disturb” mode (also a new Feature of iOS 6) VIP’s can still get you up at 2:00am…

So i think its time to open donations for putting people on my VIP list. I will put the 5 highest donators on my list :)

Tagged: , , , ,

Oneliner: find not committed changes in working copy

It could be sometimes quite useful to know which changes you’ve not committed. The following oneliner does exactly this:

$ find . -type d -name \.svn | sed "s/\.svn//" | xargs -L 1 svn status | sort | uniq
Tagged: , , , , , , ,

Configure an central CakePHP Installation on own or Uberspace Server

If you like to run several CakePHP Applications on one server and keep them up to date all the time, it makes sense to install CakePHP centralized. I’ve done this on my Ubuntu based Servers:

apt-get upgrade
apt-get install php5 php5-mysql
a2enmod php5 rewrite
service apache2 restart
cd /usr/share/
wget https://github.com/cakephp/cakephp/zipball/2.1.0
unzip 2.1.0
mv cakephp-cakephp-b522a85/ cakephp-2.1.0
ln -s /usr/share/cakephp-2.1.0 /usr/share/cakephp
rm -r cakephp/app cakephp/.htaccess
ln -s /usr/share/cakephp/lib/Cake/Console/cake /usr/local/bin/cake
vi /etc/php5/apache2/php.ini
     include_path = ".:/usr/share/php:/usr/share/cakephp/lib"
vi /etc/php5/cli/php.ini
     include_path = ".:/usr/share/php:/usr/share/cakephp/lib"
service apache2 restart
And finally configure your virtualHost configuration and let the documentRoot point to the app folder of your application.
If you are a proud Ueberspace customer you can configure a Central CakePHP Environment in a similar way:
mkdir ~/lib
cd ~/lib/
wget https://github.com/cakephp/cakephp/zipball/2.1.0
unzip 2.1.0
mv cakephp-cakephp-b522a85/ cakephp-2.1.0
ln -s `dirname ~/.`/lib/cakephp-2.1.0/ `dirname ~/.`/lib/cakephp
rm -rf cakephp/.gitignore cakephp/.htaccess cakephp/app cakephp/build.* cakephp/index.php
echo 'PATH=$PATH:~/bin' >> ~/.bashrc
mkdir ~/bin
ln -s `dirname ~/.`/lib/cakephp/lib/Cake/Console/cake `dirname ~/.`/bin/cake
php --ini # To check which php version you'r using
cp /package/host/localhost/php-5.3.5-2/lib/php.ini ~/etc/
vi ~/etc/php.ini
     # include_path = ".:/package/host/localhost/php-5.3.5-2/lib/php:~/lib/cakephp/lib"
Tagged: , , , ,
Page 1 of 1112345...10...Last »